Chapter 2
The foundations of band stretching
Whether you’re using resistance bands for your own mobility or guiding others through a stretch class, everything starts with understanding the foundations. This chapter gives you the essential principles that promote effective, safe and purposeful band stretching, for you and your clients.
Let’s firstly explore the three key stretching techniques you’ll use and teach throughout this course:
What it is:
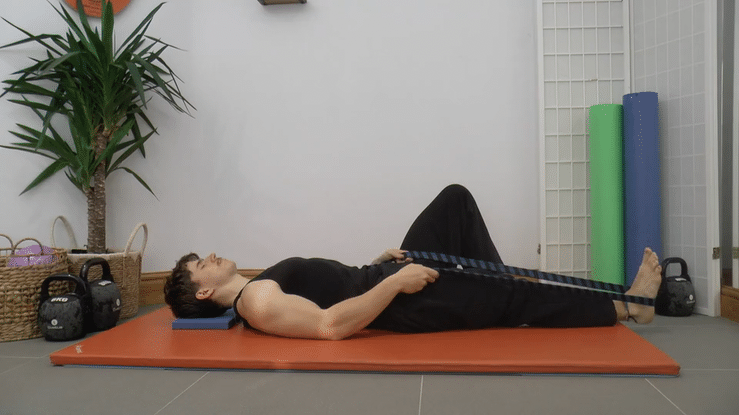
Let the band support the stretch, allowing the body to relax and release into it.
Why it’s useful:
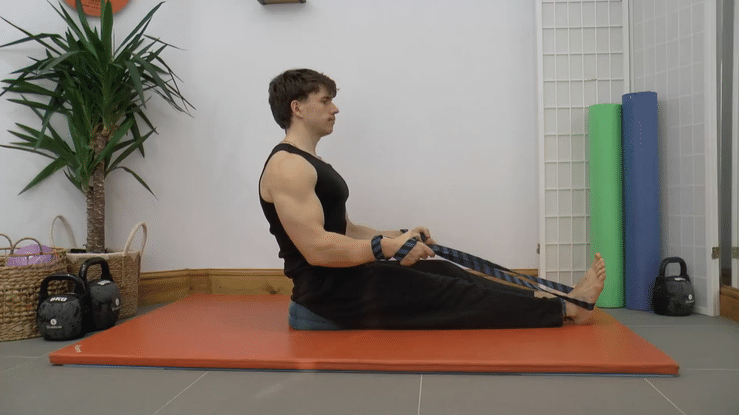
What it is:
You engage your muscles to create and hold the stretch, with the band offering guidance, not assistance
Why it’s useful:
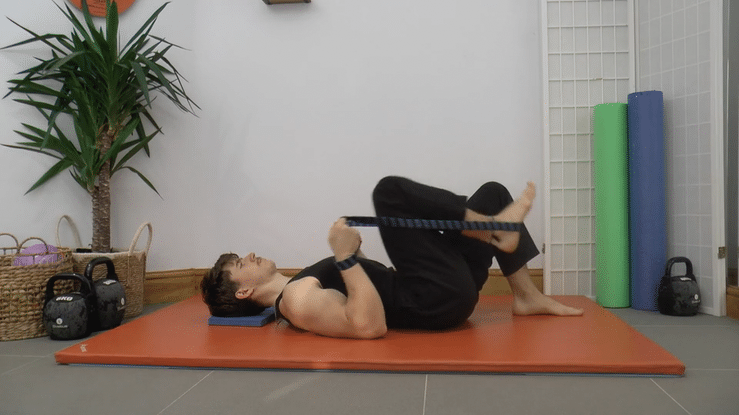
You use the band to create resistance against movement – challenging the muscle through its full range.
Why it’s useful:
Stretching with resistance, due to the increased intensity, can trigger the body’s stress response. But breathing keeps the nervous system calm and helps increase the range of motion. So, teach your participants (and remind yourself) to:
More about the Breath in the next chapter ; )
Tension and Control
● You are the one controlling the band, it should never yank or collapse your posture
● Use enough tension to feel supported, not strained
● Start with lighter bands and increase resistance as control improves